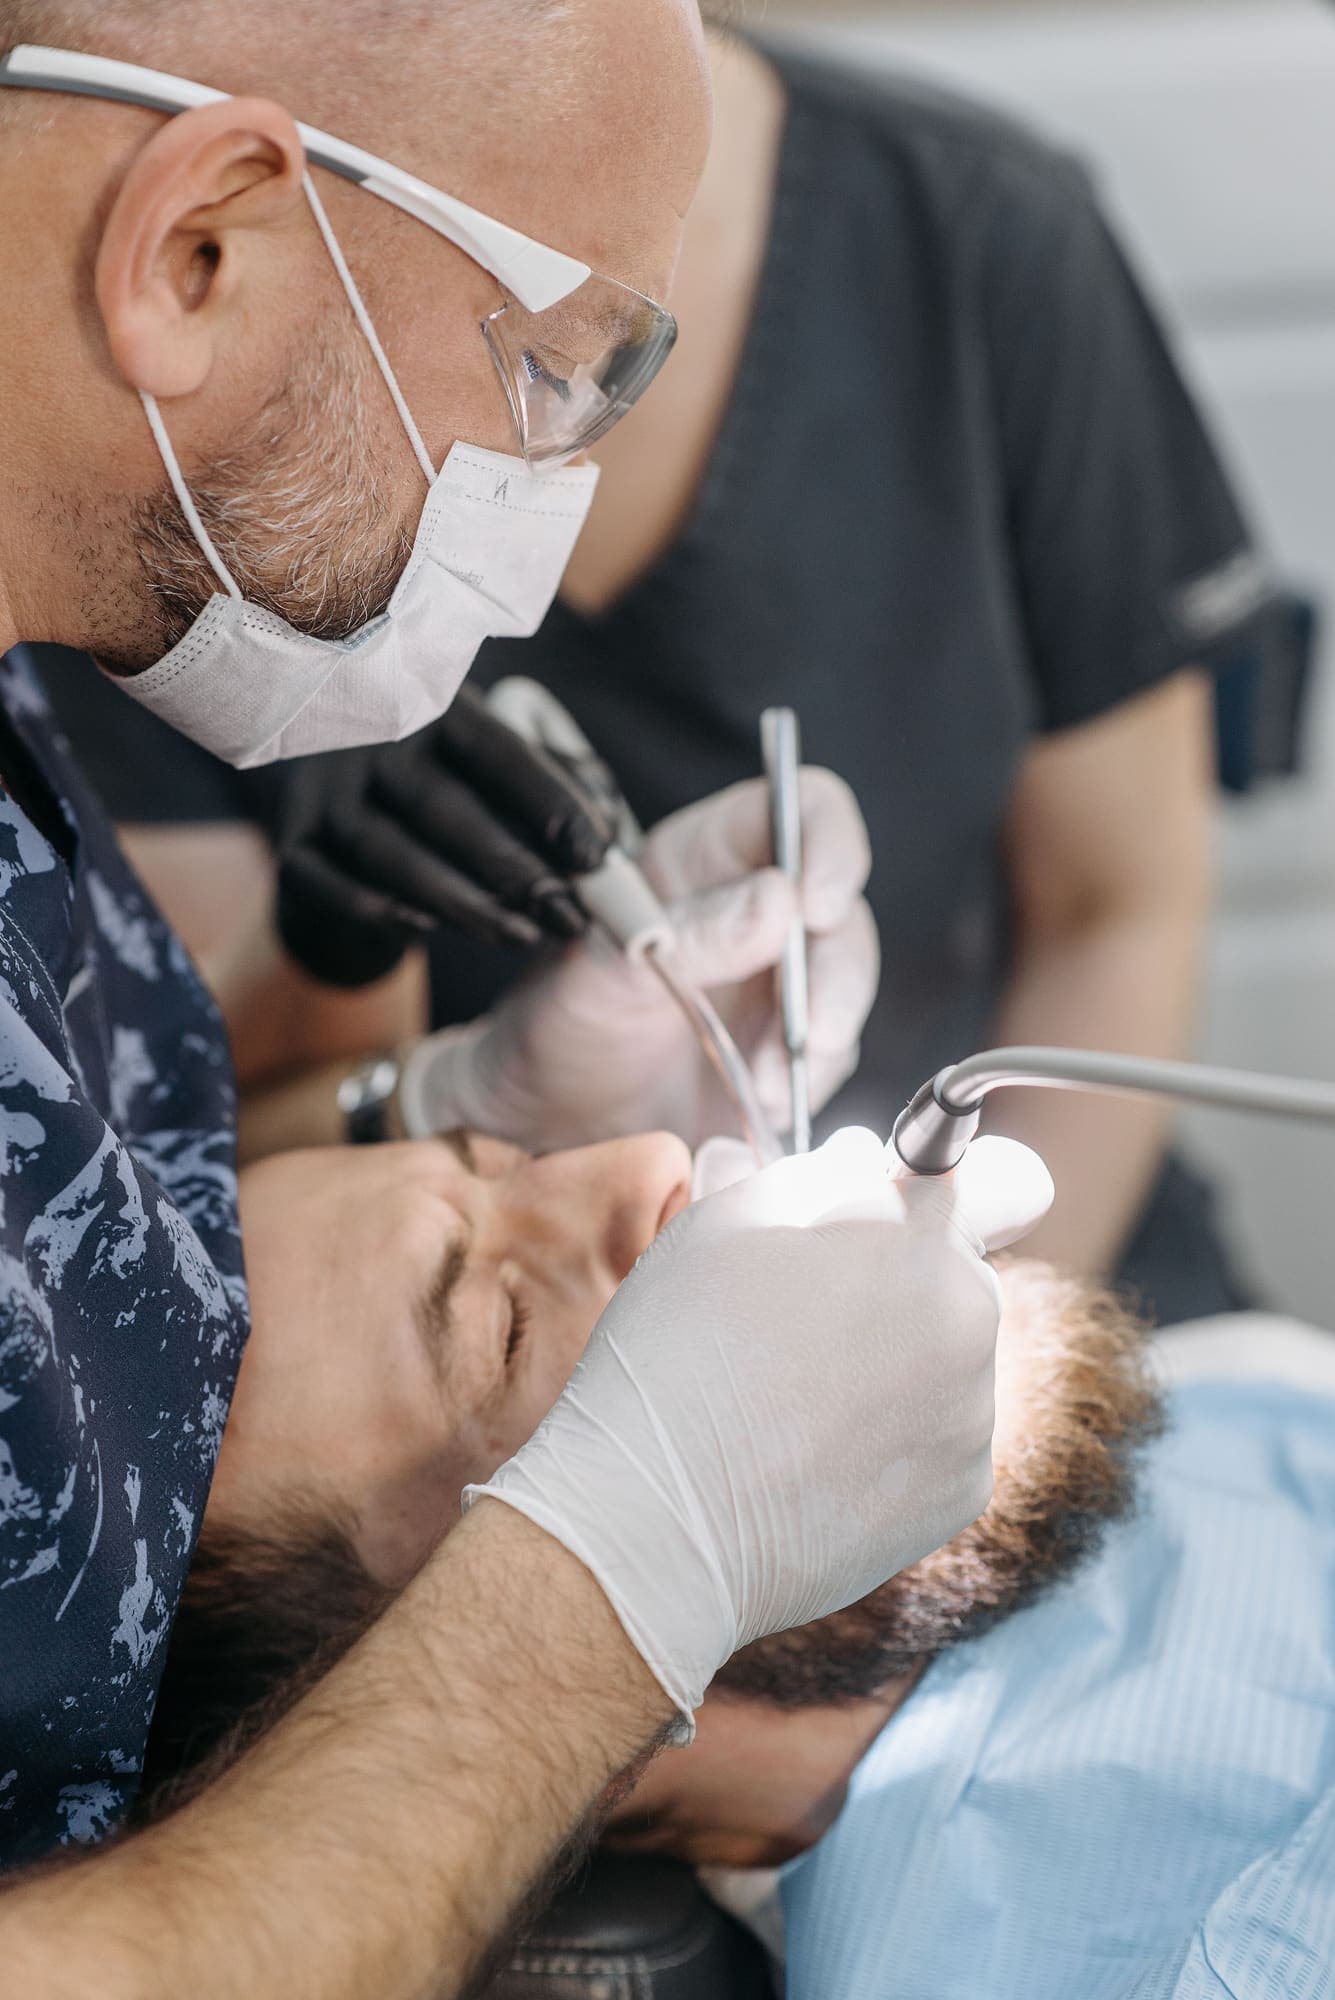
Dental Shade Matching Process: Clinical Color Accuracy
A practical dental shade-matching process covering lighting, dehydration, visual selection, digital measurement, photography, and laboratory communication.
Accurate dental shade matching is a process, not a single shade-tab choice. The clinician must control the viewing conditions, describe the tooth's primary and secondary optical characteristics, and transfer enough information for the laboratory or restorative team to reproduce what was observed.
The American College of Prosthodontists (ACP) divides this work into shade matching and shade duplication. Errors in either phase can compromise cosmetic dentistry color accuracy.
1. Select the shade before the tooth dehydrates#
Record the initial shade before tooth preparation, rubber-dam placement, or prolonged isolation. Compare the target tooth with adjacent and contralateral teeth while they are clean and hydrated. If the tooth has already dried, rehydrate it before making the final selection.
For thin ceramic restorations, also record the prepared stump shade because the underlying tooth can influence the final result.
2. Standardize the viewing conditions#
Light source, background color, glare, and visual fatigue can all alter visual shade selection. The ACP recommends lighting in the 5500K–6500K range, a color-rendering index above 90, and adequate illumination.
- Turn off or reposition a dental operating light if it creates glare or a strong color cast.
- Use a neutral background and minimize bright lipstick, clothing, or gloves within the visual field.
- Make brief comparisons and rest the eyes on a neutral surface between selections.
- Confirm an important match under more than one clinically relevant light source to identify metamerism.
3. Evaluate the tooth systematically#
Natural teeth are polychromatic, so one shade designation rarely describes the entire tooth.
- Value: Compare overall lightness first; a value mismatch is often conspicuous at conversational distance.
- Chroma: Record the intensity of the color, especially through the cervical and middle thirds.
- Hue: Identify the dominant color family after narrowing value and chroma.
- Characterizations: Map translucency, opacity, incisal halo, mamelons, white or brown features, surface texture, and gloss.
- Regional differences: Record the cervical, middle, and incisal thirds separately when the restoration will reproduce the full facial surface.
Use the same shade-guide system that the laboratory expects, and replace worn or contaminated tabs that no longer represent the manufacturer's standard.
4. Combine visual and digital methods#
Instrumental methods can reduce operator subjectivity, but no device should be treated as infallible. A systematic review and meta-analysis found fewer color differences and incorrect matches with digital photography or spectrophotometric measurements than with shade tabs alone, while results varied by method. Another meta-analysis found that spectrophotometers and calibrated digital-camera methods generally outperformed conventional visual selection, but intraoral scanners did not consistently do so.
For demanding anterior cases, use visual selection as a clinical cross-check alongside a spectrophotometer or a calibrated photographic workflow. Repeat an unexpected reading and reconcile disagreement before sending the case.
Material choice changes how much of this burden falls on shade selection. Single-shade composites shift the work from matching a tab to relying on the material's blending effect, and the randomized trials behind that claim are summarized in Does one-shade composite actually match?. For a direct comparison of polishability and color stability across specific composites, see which direct composite holds its polish and color.
5. Send reproducible information to the laboratory#
A useful shade prescription includes:
- the shade-guide system and selected tabs;
- photographs with the tab and its identifier visible in the same focal plane as the tooth;
- a neutral gray reference or calibrated workflow when color measurement is required;
- polarized and non-polarized views when available;
- a map of translucency, opacity, texture, gloss, and other characterizations;
- the preparation or stump shade, restorative material, thickness constraints, and planned cement shade.
Photography improves communication, but exposure, white balance, reflections, displays, and file processing can alter color. Treat photographs as standardized clinical records rather than assuming an uncalibrated image is color-accurate.
6. Verify before final acceptance#
Evaluate the restoration fully seated or tried in with the intended try-in medium, under controlled lighting, and with the tooth hydrated. Check value at normal viewing distance before inspecting local chroma, hue, translucency, and surface character at close range. When adjustment is needed, describe the direction and location of the mismatch rather than sending only a replacement shade-tab number.
What counts as an accurate color match#
"Accurate" has a measurable definition. In a multicenter study of 175 observers judging pairs of ceramic specimens, Paravina and colleagues reported a 50:50% perceptibility threshold of ΔE00 = 0.8 (ΔEab = 1.2) and a 50:50% acceptability threshold of ΔE00 = 1.8 (ΔEab = 2.7). Below the perceptibility threshold, half of observers could not see a difference. Between the two thresholds, the difference was visible but half of observers still accepted it. Above the acceptability threshold, more than half judged it unacceptable.
Use the thresholds in two places:
- When a spectrophotometer or calibrated photograph reports a color difference between the tooth and a shade tab or restoration, compare the reading with these values instead of treating any nonzero result as a mismatch.
- At try-in, a restoration that looks slightly different but falls below the acceptability threshold is within the range most observers accept. A difference clearly above it should go back to the laboratory with a description of the direction of the mismatch.
Acceptability thresholds for dental technicians and lay observers differed from the pooled value in the same study, so a match that satisfies the clinician is still worth confirming with the patient under neutral lighting.
Practical checklist#
- Shade selected before preparation or isolation
- Tooth clean and hydrated
- Neutral surroundings and controlled lighting
- Value, chroma, hue, and regional characterizations recorded
- Visual selection cross-checked digitally when appropriate
- Shade-tab and stump-shade photographs captured
- Material, thickness, and cement information sent
- Restoration verified under controlled conditions
The most reliable workflow combines standardized visual assessment, appropriate instruments, and precise laboratory communication; the ACP cautions against relying on any digital device as the sole method.
Citations
- American College of Prosthodontists. (2023). Total Color Replication Process for Fixed Prosthodontics: Position Statement.
- Hardan, L., et al. (2022). Novel Trends in Dental Color Match Using Different Shade Selection Methods: A Systematic Review and Meta-Analysis. Materials, 15(2), 468.
- Morsy, N., et al. (2023). Color Difference for Shade Determination With Visual and Instrumental Methods: A Systematic Review and Meta-Analysis.
- Paravina, R. D., et al. (2015). Color Difference Thresholds in Dentistry. Journal of Esthetic and Restorative Dentistry, 27(S1), S1–S9.
About the author
Evidence editorial team
The Dental Evidence Team builds a traceable, clinically focused research corpus for dentists.
More from the blog
- Are Bioactive Materials Better for Direct Restorations and Core Buildups?Bioactive restorative materials can help in selected cases, but fluoride release alone does not make them the default choice for every direct restoration or core buildup.
- Why Does MTA Discolor Teeth, and How Do Modern Bioceramics Solve the Aesthetic Problem?Bismuth oxide gives MTA its radiopacity and its staining problem — modern bioceramics keep the bioactivity and drop the discoloration.
- Can I Get a Same-Day Dentist Appointment?Same-day dentist appointment: most offices hold urgent slots; call at opening, describe pain, swelling, or trauma, and ask for a referral if they are full.